A Christmasy Sparkle
**There should be more light green than black
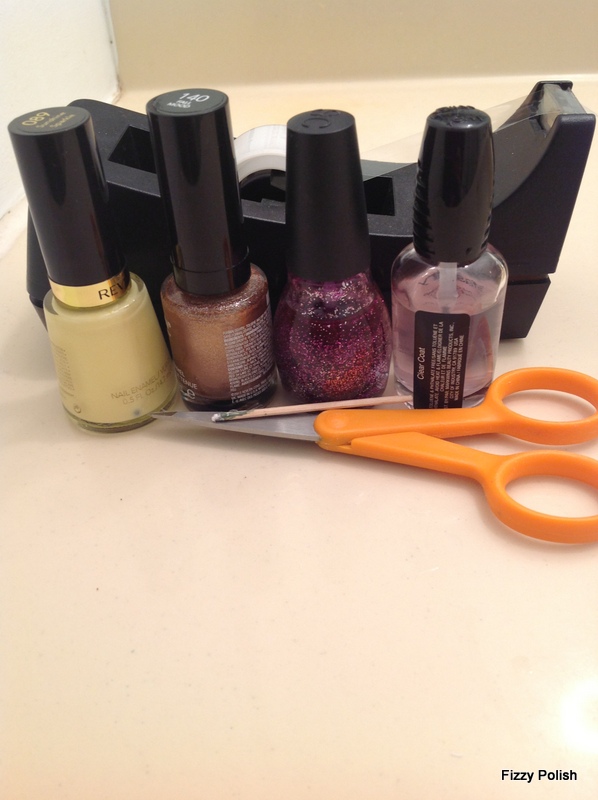
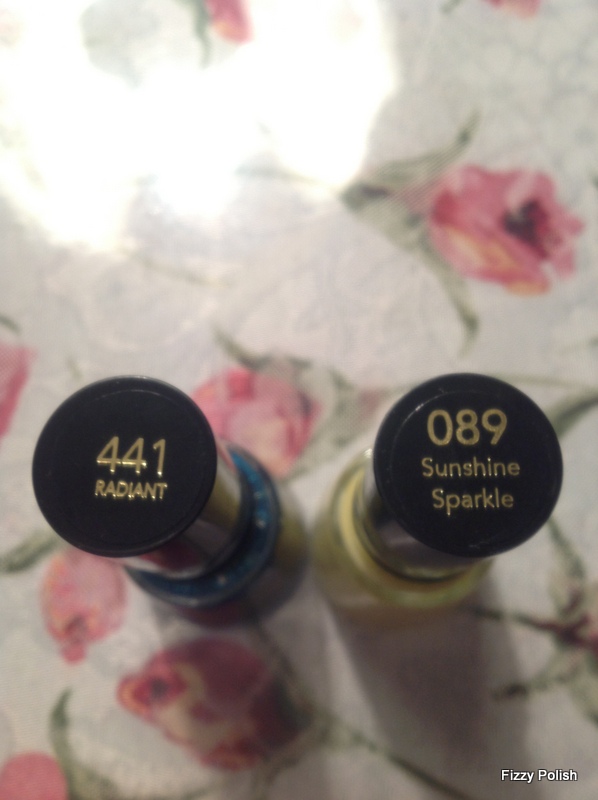
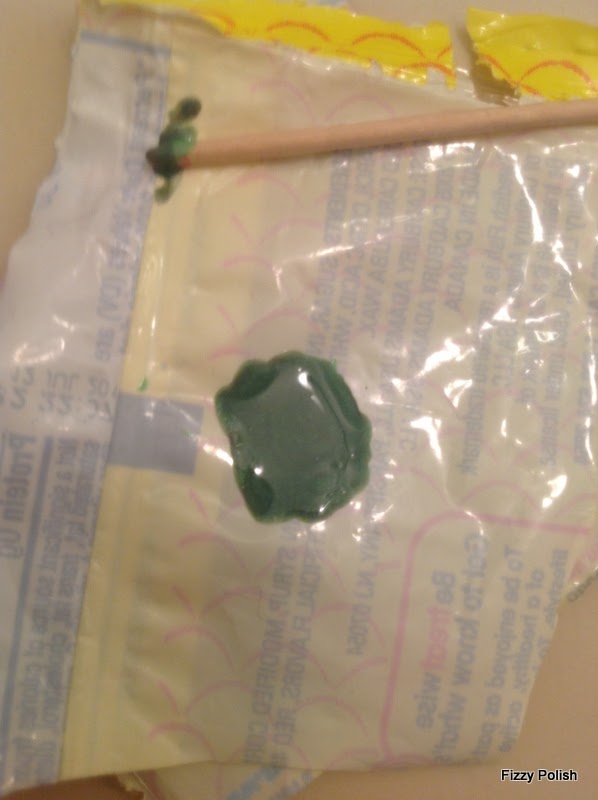
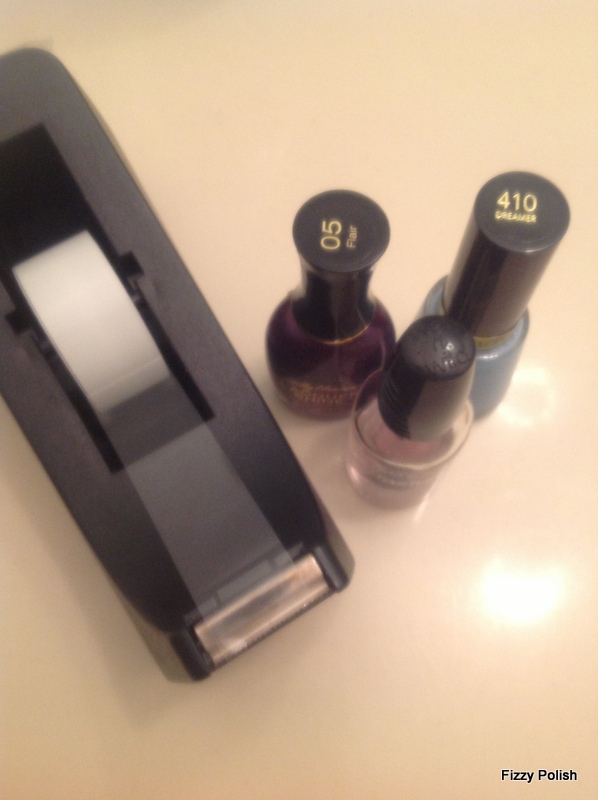
Materials: Light green and black (Mint Fusion and Heavy Metal), toothpick, brush, plastic
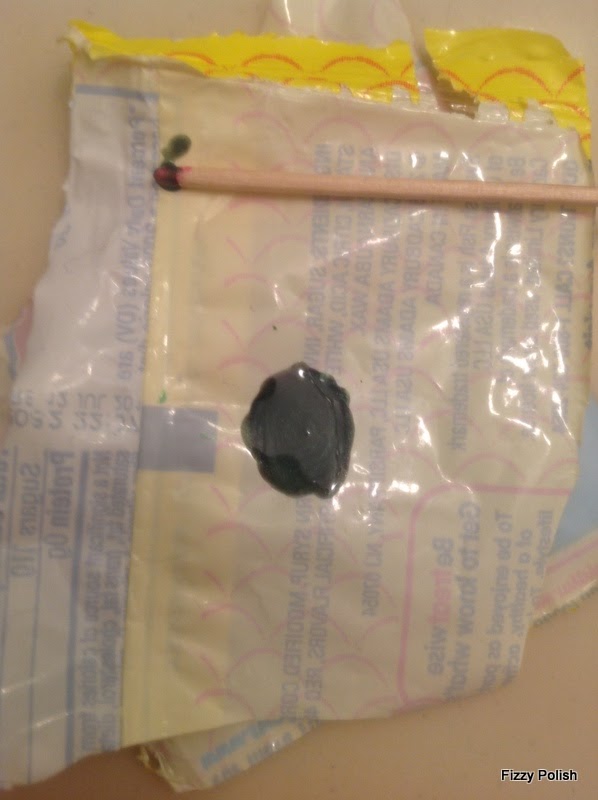
Drop a large blob of light green on the plastic.
Drop a small blob of black on top.
Mix with the toothpick.
Drop a humongous blob (2 small blobs) of light green on top.
Mix with the toothpick.
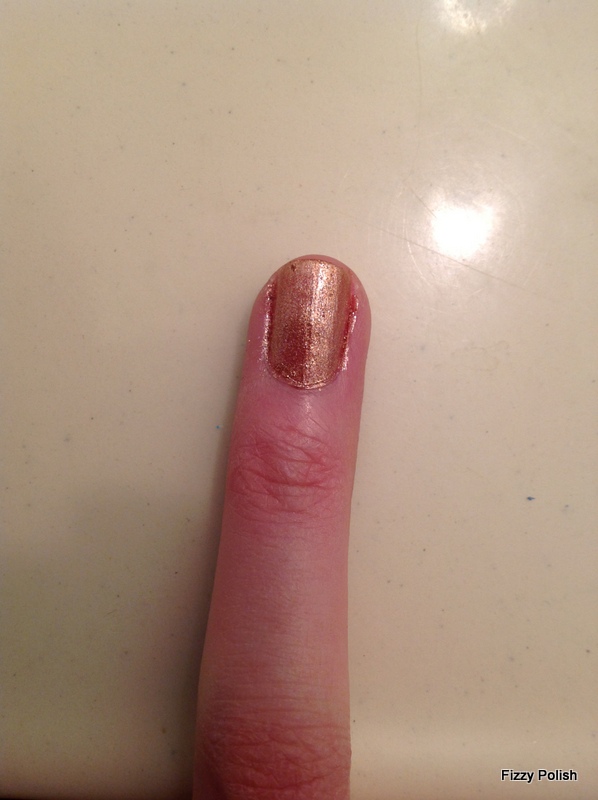
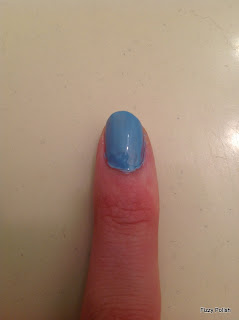
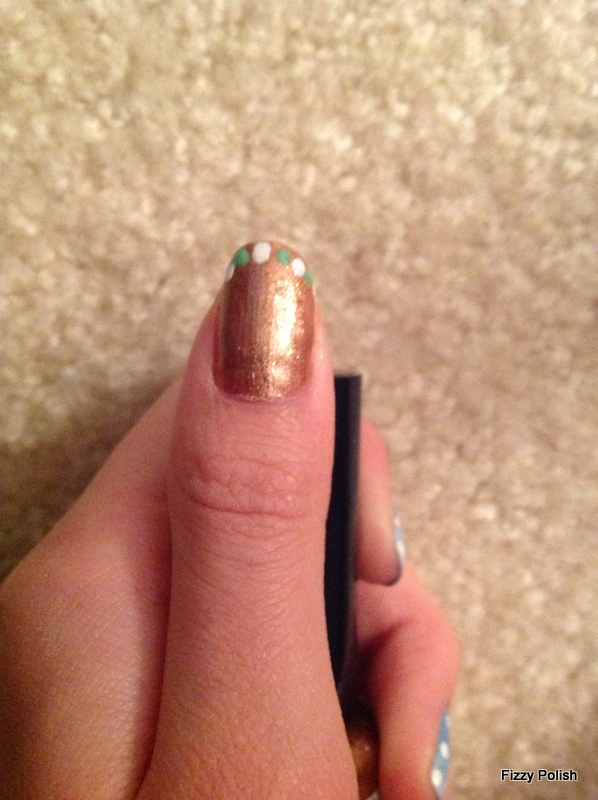
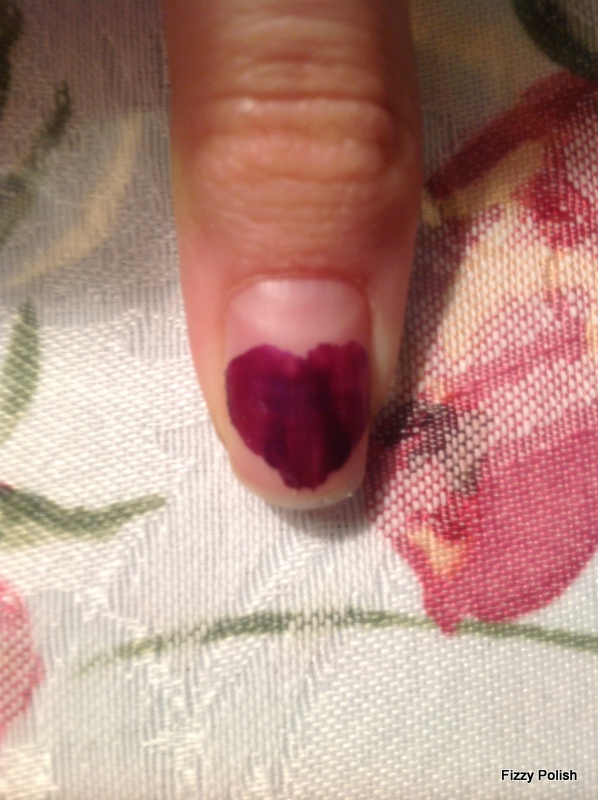
Apply to nail.
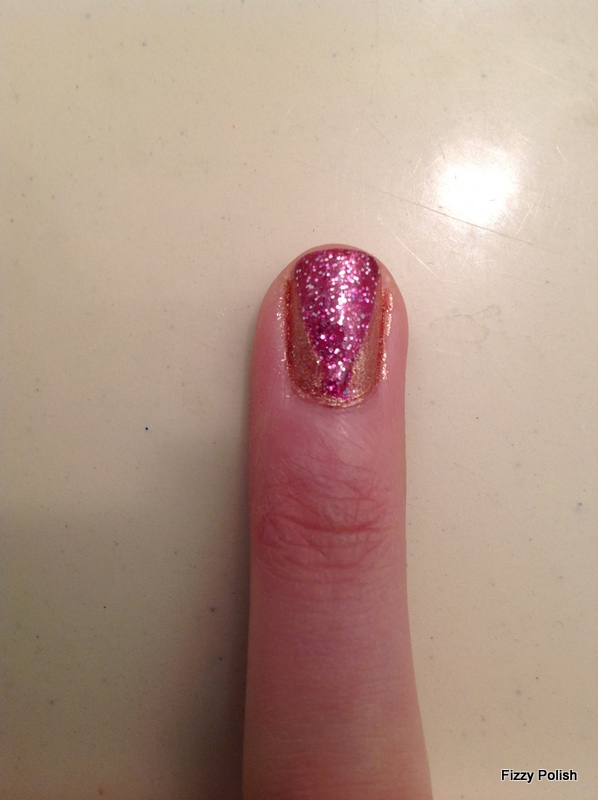
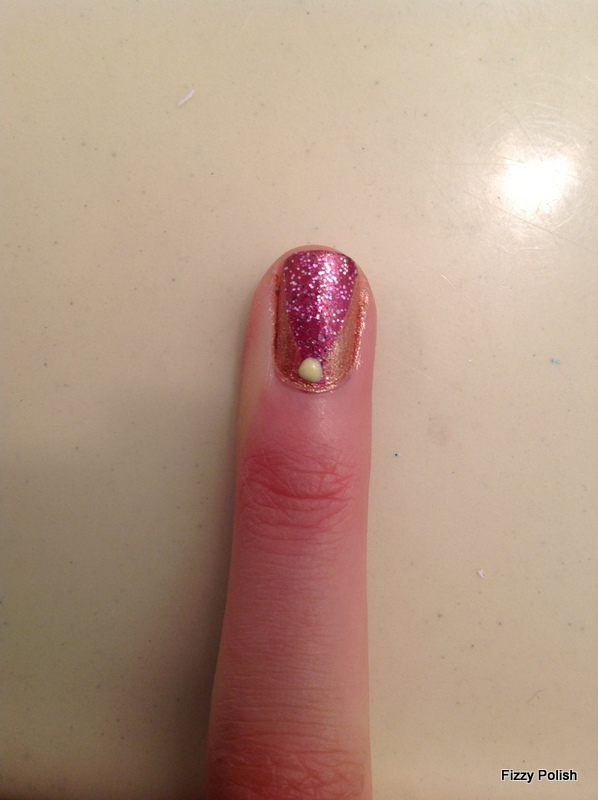
This last picture doesn't show how pretty the color is, but the one above gives you a clear image of it. The polish also has a sparkle to it from Heavy Metal. The mixture reminds me of a Christmas tree.
You don't need to use the colors I did, light green and black are fine. The sparkles would be an accessory.


